When you visit a website with an SSL certificate, you’ll notice that the website’s URL starts with “https” instead of just “http.” The “s” stands for “secure,” indicating that an SSL certificate protects the website. Any data you exchange with the website, such as personal information, passwords, or credit card details, is encrypted.
Encryption is like putting your data in a secret code that only the website and your device can understand. It ensures that even if someone tries to intercept the data while traveling between your device and the website’s server, they won’t be able to read or make sense of it. Your information remains safe and private.
Understanding SSL Certificates:
- An SSL certificate is a digital certificate that encrypts the communication between a website and its visitors, ensuring secure data transmission.
- SSL certificates establish a secure connection between a web server and a browser, encrypting sensitive data such as login credentials, credit card information, and personal details.
- SSL employs cryptographic algorithms to encrypt data sent between the server and the client, making it unreadable to anyone who might intercept it.

Different Types of SSL Certificates
Domain-validated (DV) certificates:
These certificates validate domain ownership and provide basic encryption.
Organization-validated (OV) certificates:
OV certificates verify domain ownership and additional organization details, enhancing trust.
Extended-validation (EV) certificates:
EV certificates provide the highest level of validation, displaying the organization’s name in the browser’s address bar.

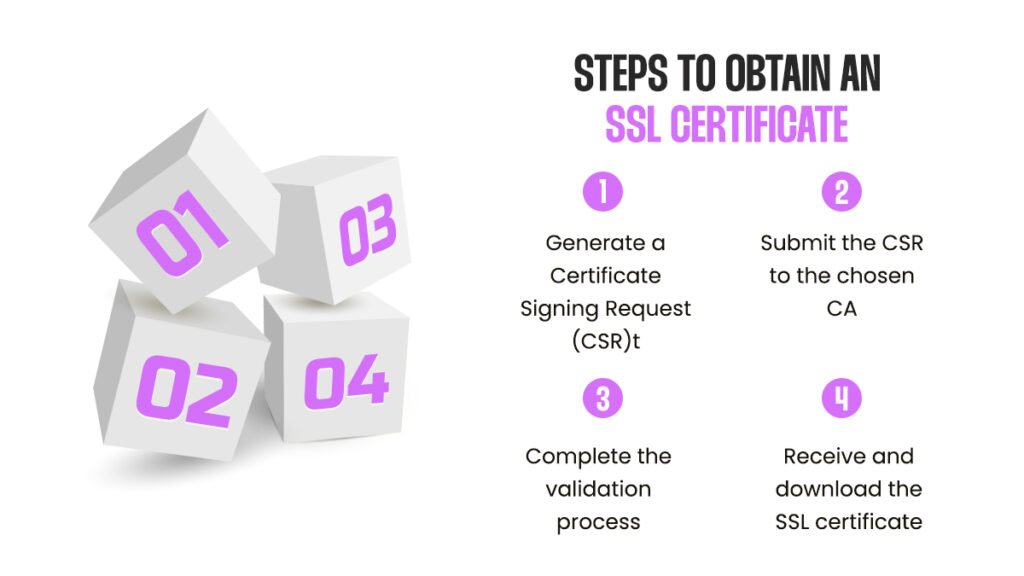
Steps to obtain an SSL certificate:
Generate a Certificate Signing Request (CSR):
A CSR contains information about your website and is required to request an SSL certificate from the CA.
Submit the CSR to the chosen CA:
Provide the CSR to the CA and any additional information required for the validation process.
Complete the validation process:
Follow the CA’s instructions to validate your ownership of the domain and organization (if applicable).
Receive and download the SSL certificate:
Once the validation process is complete, the CA will issue the SSL certificate, which can be downloaded and installed on your server.
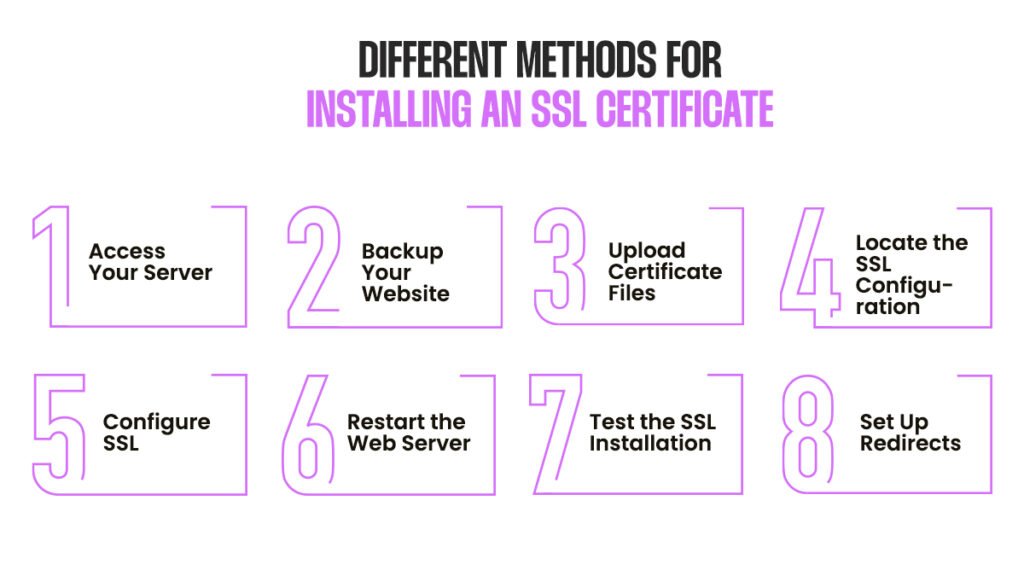
Different methods for installing an SSL certificate:
- Access Your Server: Log in to your web server using the method provided by your hosting provider. This is usually through SSH for Linux-based servers or Remote Desktop for Windows servers.
- Backup Your Website: Before making any changes, it’s a good idea to back up your website files and database in case anything goes wrong during installation. You can ask your web developer to do it for you.
- Upload Certificate Files: Transfer the SSL certificate files to your server. Typically, these files include the SSL certificate itself (usually with a .crt extension), a private key file (usually with a .key extension), and, if applicable, an intermediate certificate file (sometimes called a bundle or chain file).
- Locate the SSL Configuration: Find the configuration file for your web server software. For example, if you’re using Apache, the configuration file might be named “httpd.conf” or “ssl.conf.” For Nginx, it might be “nginx.conf” or a file within the “sites-available” directory.
- Configure SSL: In the configuration file, you must add the paths to the SSL certificate files you uploaded. Look for the section related to SSL/TLS configuration and add the paths to the SSLCertificateFile (for the SSL certificate), SSLCertificateKeyFile (for the private key), and SSLCertificateChainFile (for the intermediate certificate, if applicable).
- Restart the Web Server: Save the changes to your configuration file and restart the webserver to apply the new SSL certificate settings. The command to restart the server varies based on your operating system and web server software.
- Test the SSL Installation: After the server restarts, visit your website using “https://” in the URL to test whether the SSL certificate works correctly. A padlock symbol in the browser’s address bar should indicate a secure connection.
- Set Up Redirects (Optional): To ensure all traffic is directed to the secure version of your website, set up redirects from HTTP to HTTPS. This can be done through your server configuration or content management system (CMS) settings.
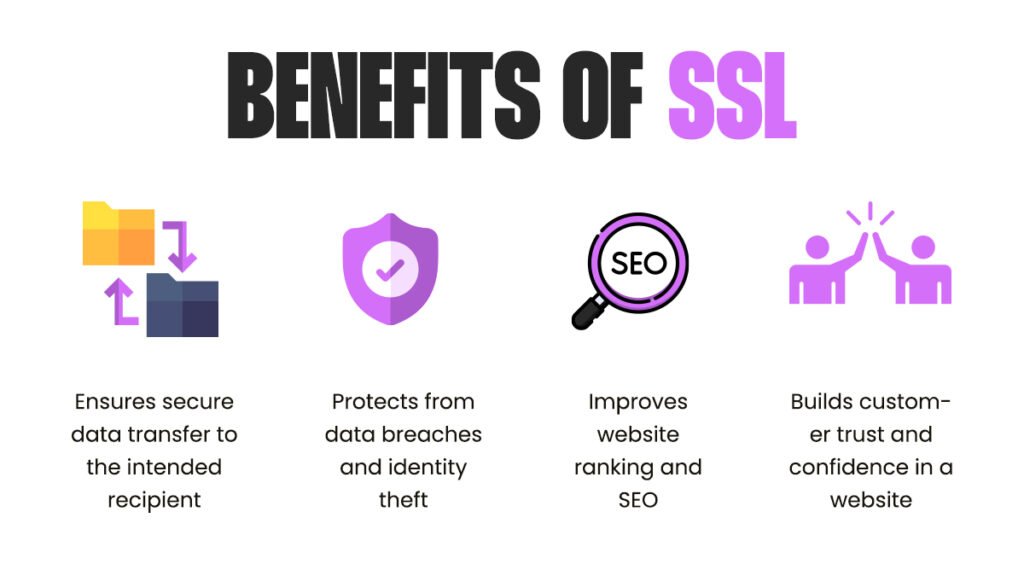
Benefits of SSL Certificates:
- SSL encryption ensures that sensitive information transmitted over the internet remains secure and cannot be intercepted by unauthorized parties.
- SSL certificates signal that your website is secure, building trust with visitors and reducing the risk of cyberattacks.
- Search engines prioritize websites with SSL certificates, leading to higher rankings and increased visibility.
- SSL certificates verify the authenticity of your website, assuring visitors that they are interacting with a legitimate entity.
- SSL certificates protect against phishing attacks by confirming the website’s identity, assuring visitors that they are on a trusted site.
Summary
Securing your website with an SSL certificate is crucial in protecting your online presence and ensuring a safe browsing experience for your visitors. You can confidently fortify your website’s security by understanding the fundamentals, benefits, and process of obtaining and installing SSL certificates. Whether you choose a paid SSL certificate from a trusted CA or opt for a free SSL certificate provider, the key is to prioritize the security and trust of your website users. Take the necessary steps today and establish a secure foundation for your online endeavors.